Building a Radio Telescope
I’ve been wanting to build a radio telescope since I started work at NYUAD two years ago. For me, radio telescopes have always complicated, buggy collections of software. You send commands to the antenna control to tell it where to point, you tell the Front End to do flux calibration, and then you tell the spectrometer to start collecting data. Eventually, I wrote enough hardware control code that I could do an end to end observing session with a single Python script – the telescope was so abstracted away that it came to live in scripts tucked away on firewall protected servers. Even after visiting the Green Bank Telescope and the 70m Tidbinbilla telescope outside of Canberra, Australia, radio telescopes the connection between software and hardware remains a little vague. I think that two factors contribute to this. This first is my piecemeal education on the principles of telescopes and their hardware. The second is that I’ve never had to chance to play around with an antenna to see how changing one aspect of the signal chain influences the data that get collected.
After over a year of dreaming, I’ve resolved to build my own radio telescope. I want a playground that I can use to ground my understanding of antenna theory and digital signal processing. My ultimate goal is to be able to detect the 22cm Hydrogen line. In order to accomplish this, I’m going to need a fully steerable, L-band enabled radio antenna. I want to build as much as I can from scratch, ie not using commerically available science education products. Moreover, I want to use as much free (though not necessarily GPL licensed) software as possible. I don’t intend for this post to be a guide, but it might be useful for that purpose.
27/04/2019 - 28/04/2019
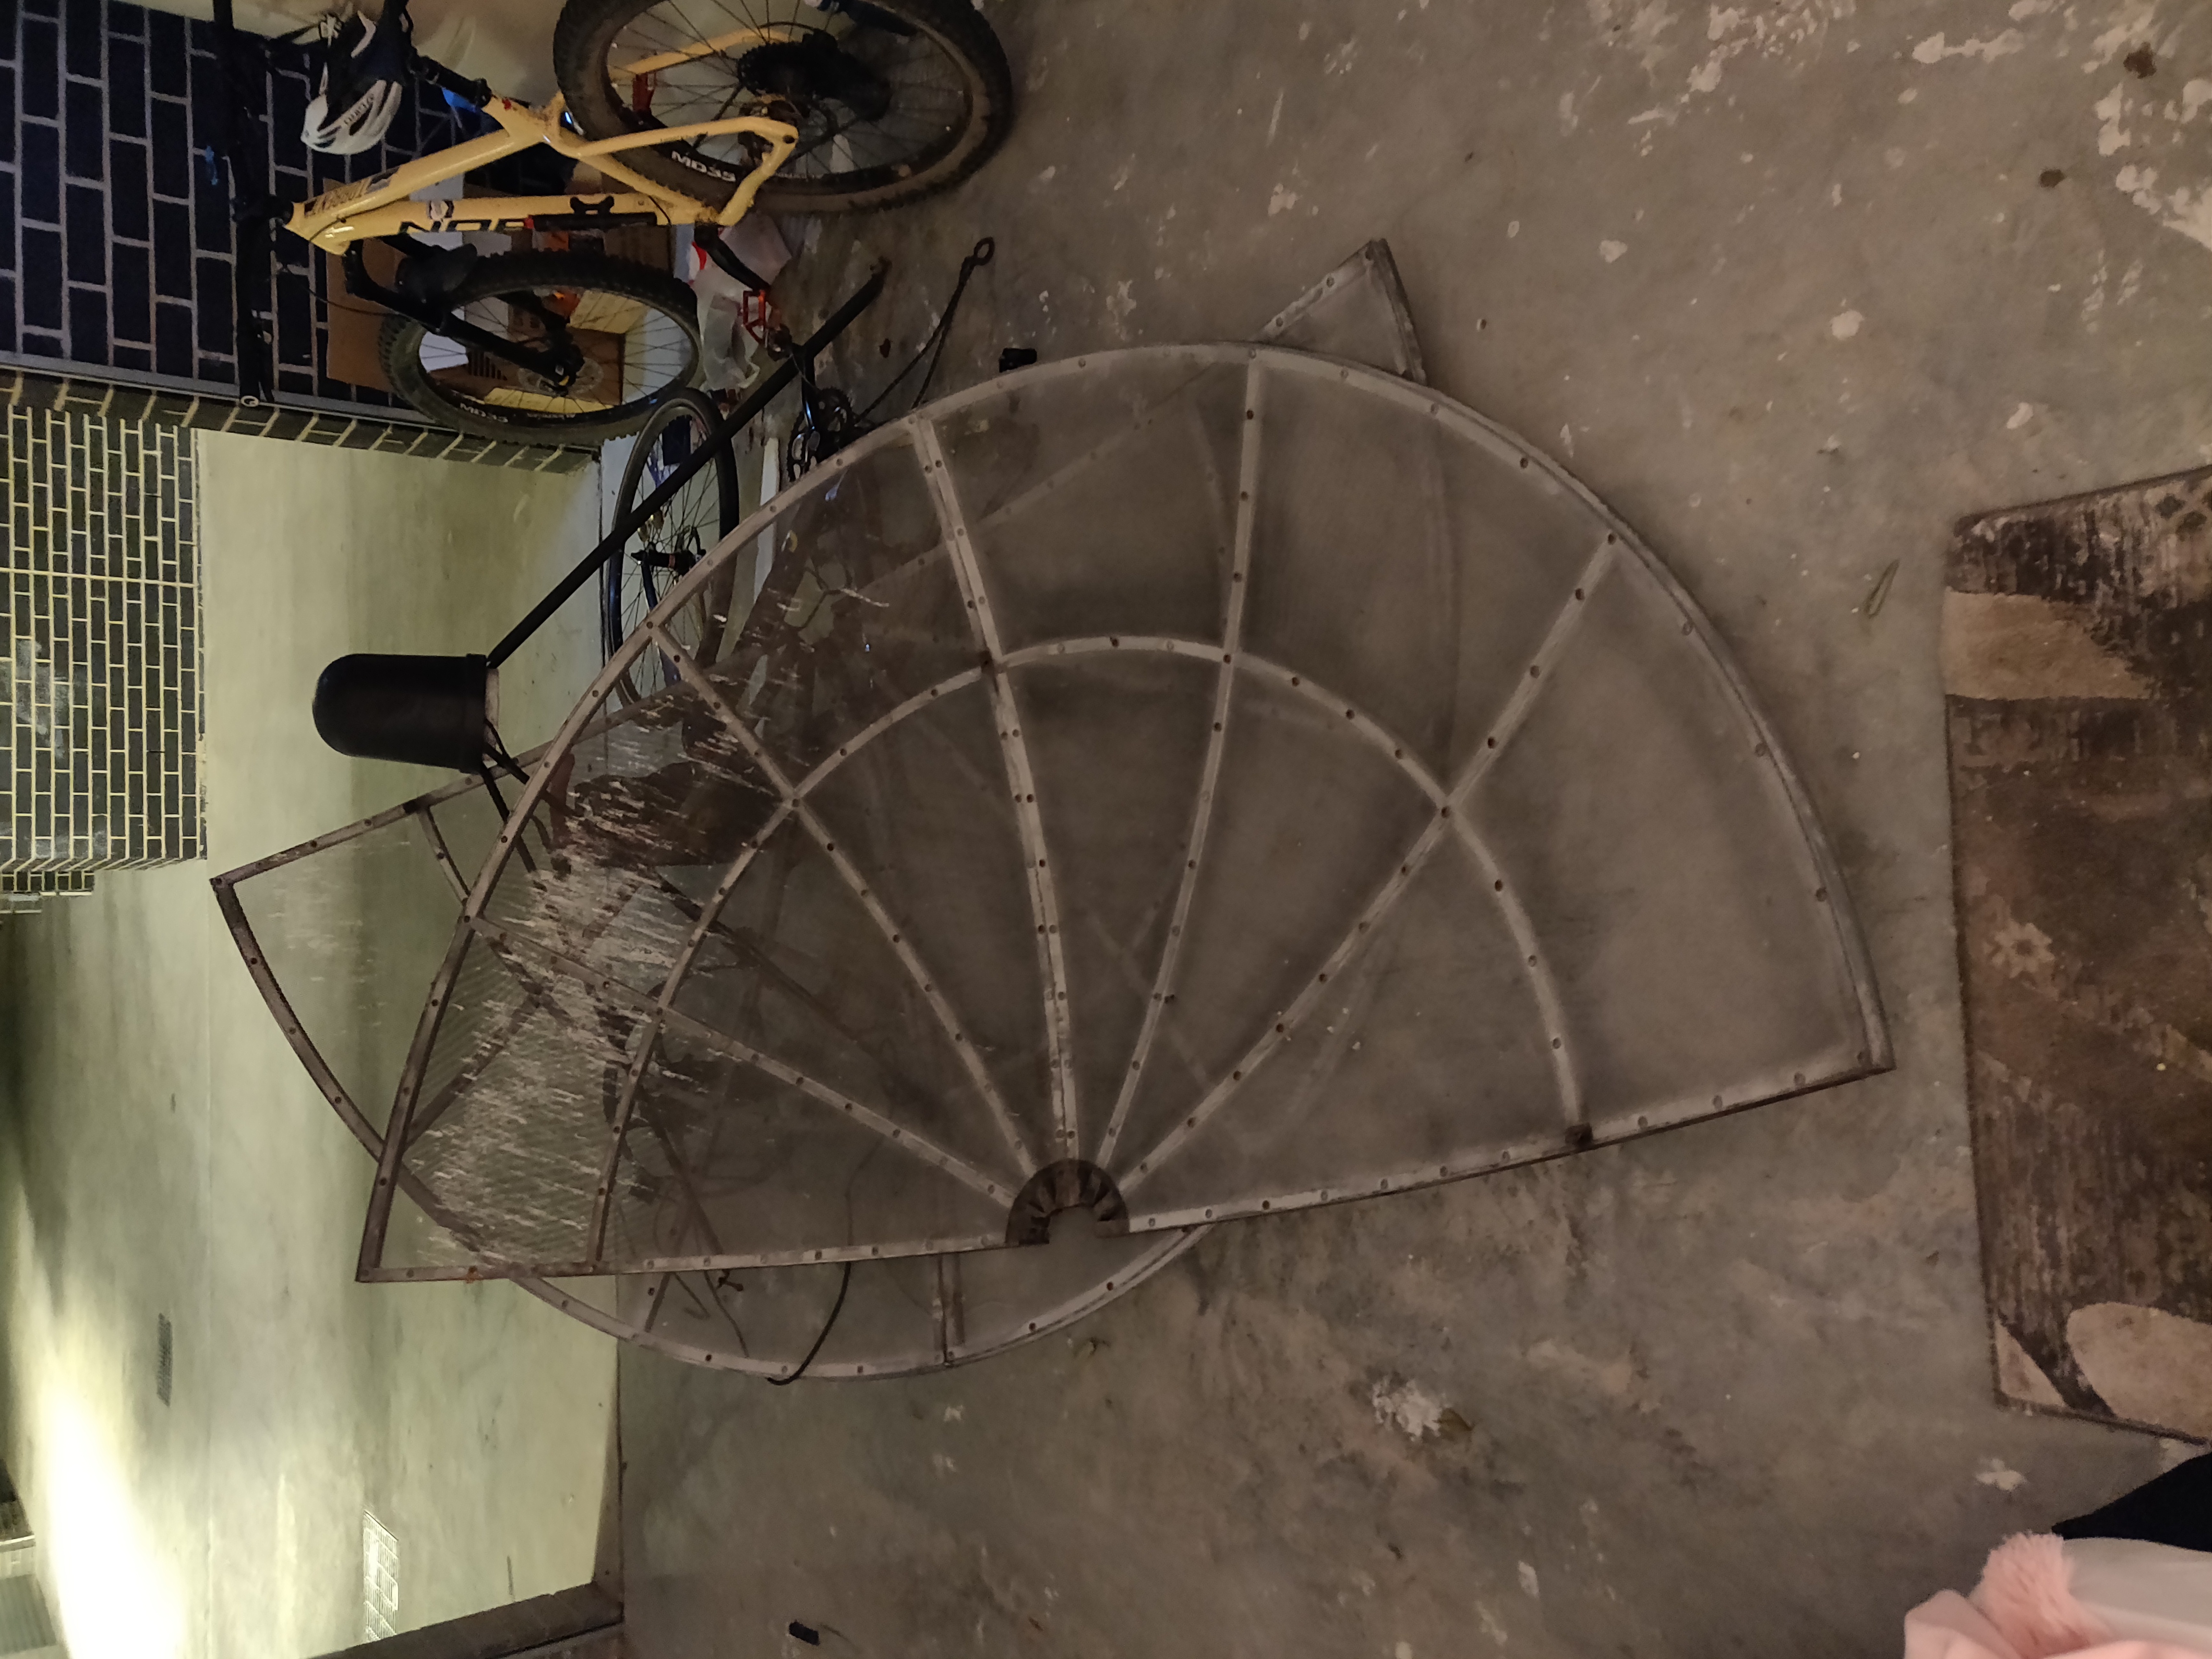
Yesterday I bought a 2.5m radio dish. The author of this guide suggested going to scrap yards, but I was able to find one on Facebook marketplace for $50. I rented a ute (aka pickup truck) and drove about an hour to a south eastern suburb. I was a little concerned that I wouldn’t be able to fit the dish in the back, but soon after arriving I realized that the antenna can be broken down pretty easily. With the help of the seller, we were able to unmount the dish from the metal pole, take off the receiver (mostly) and break the dish in two. One of the mounts for the receiver was badly rusted, and without any light or WD40, I wasn’t able to get it off. This ended up helping when the dish was in transport, as I used the receiver to help brace the dish when strapping it down. I brought some crescent wrenches with me, as I wasn’t sure what the mounting bracket would look like. If I were to do it again, I would invest in a set of socket wrenches; given the weird angles and rust, I would have been able to cut the disassembly time in half.
After dropping some nuts and washers in the grass at the sellers house, I went to the hardware store today to get some replacement hardware.
Here’s the dish before assembly:
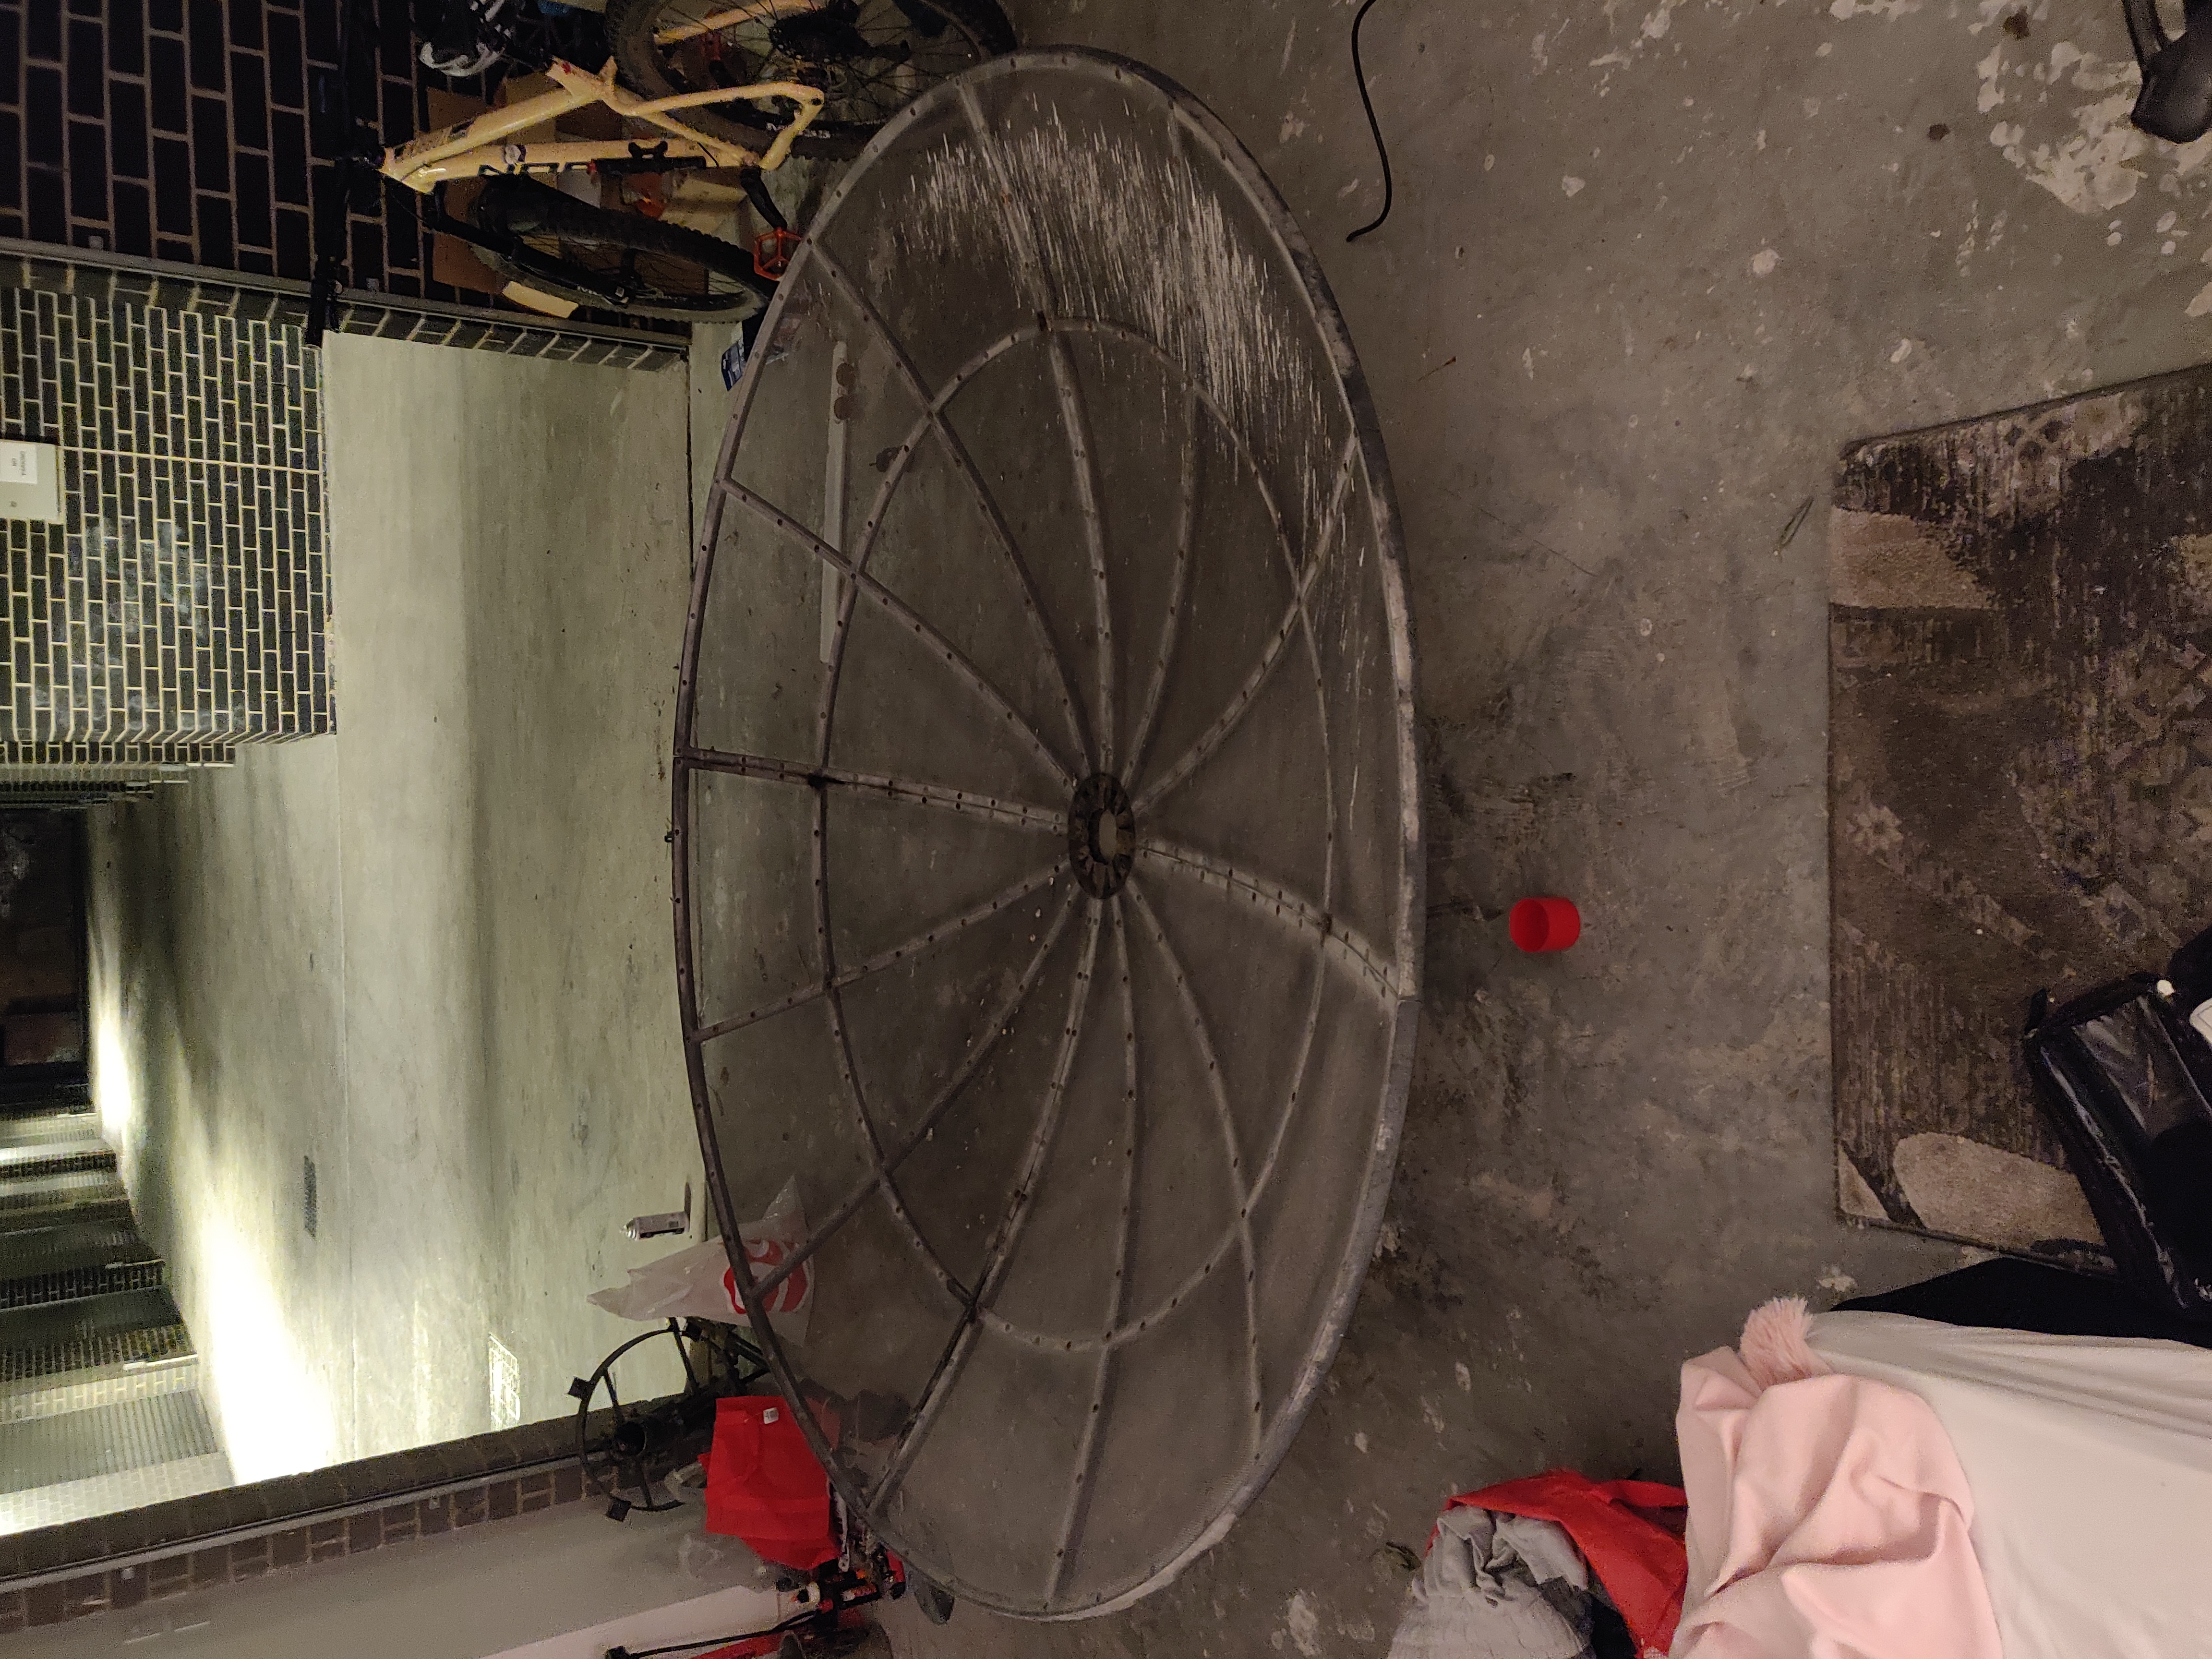
And after:
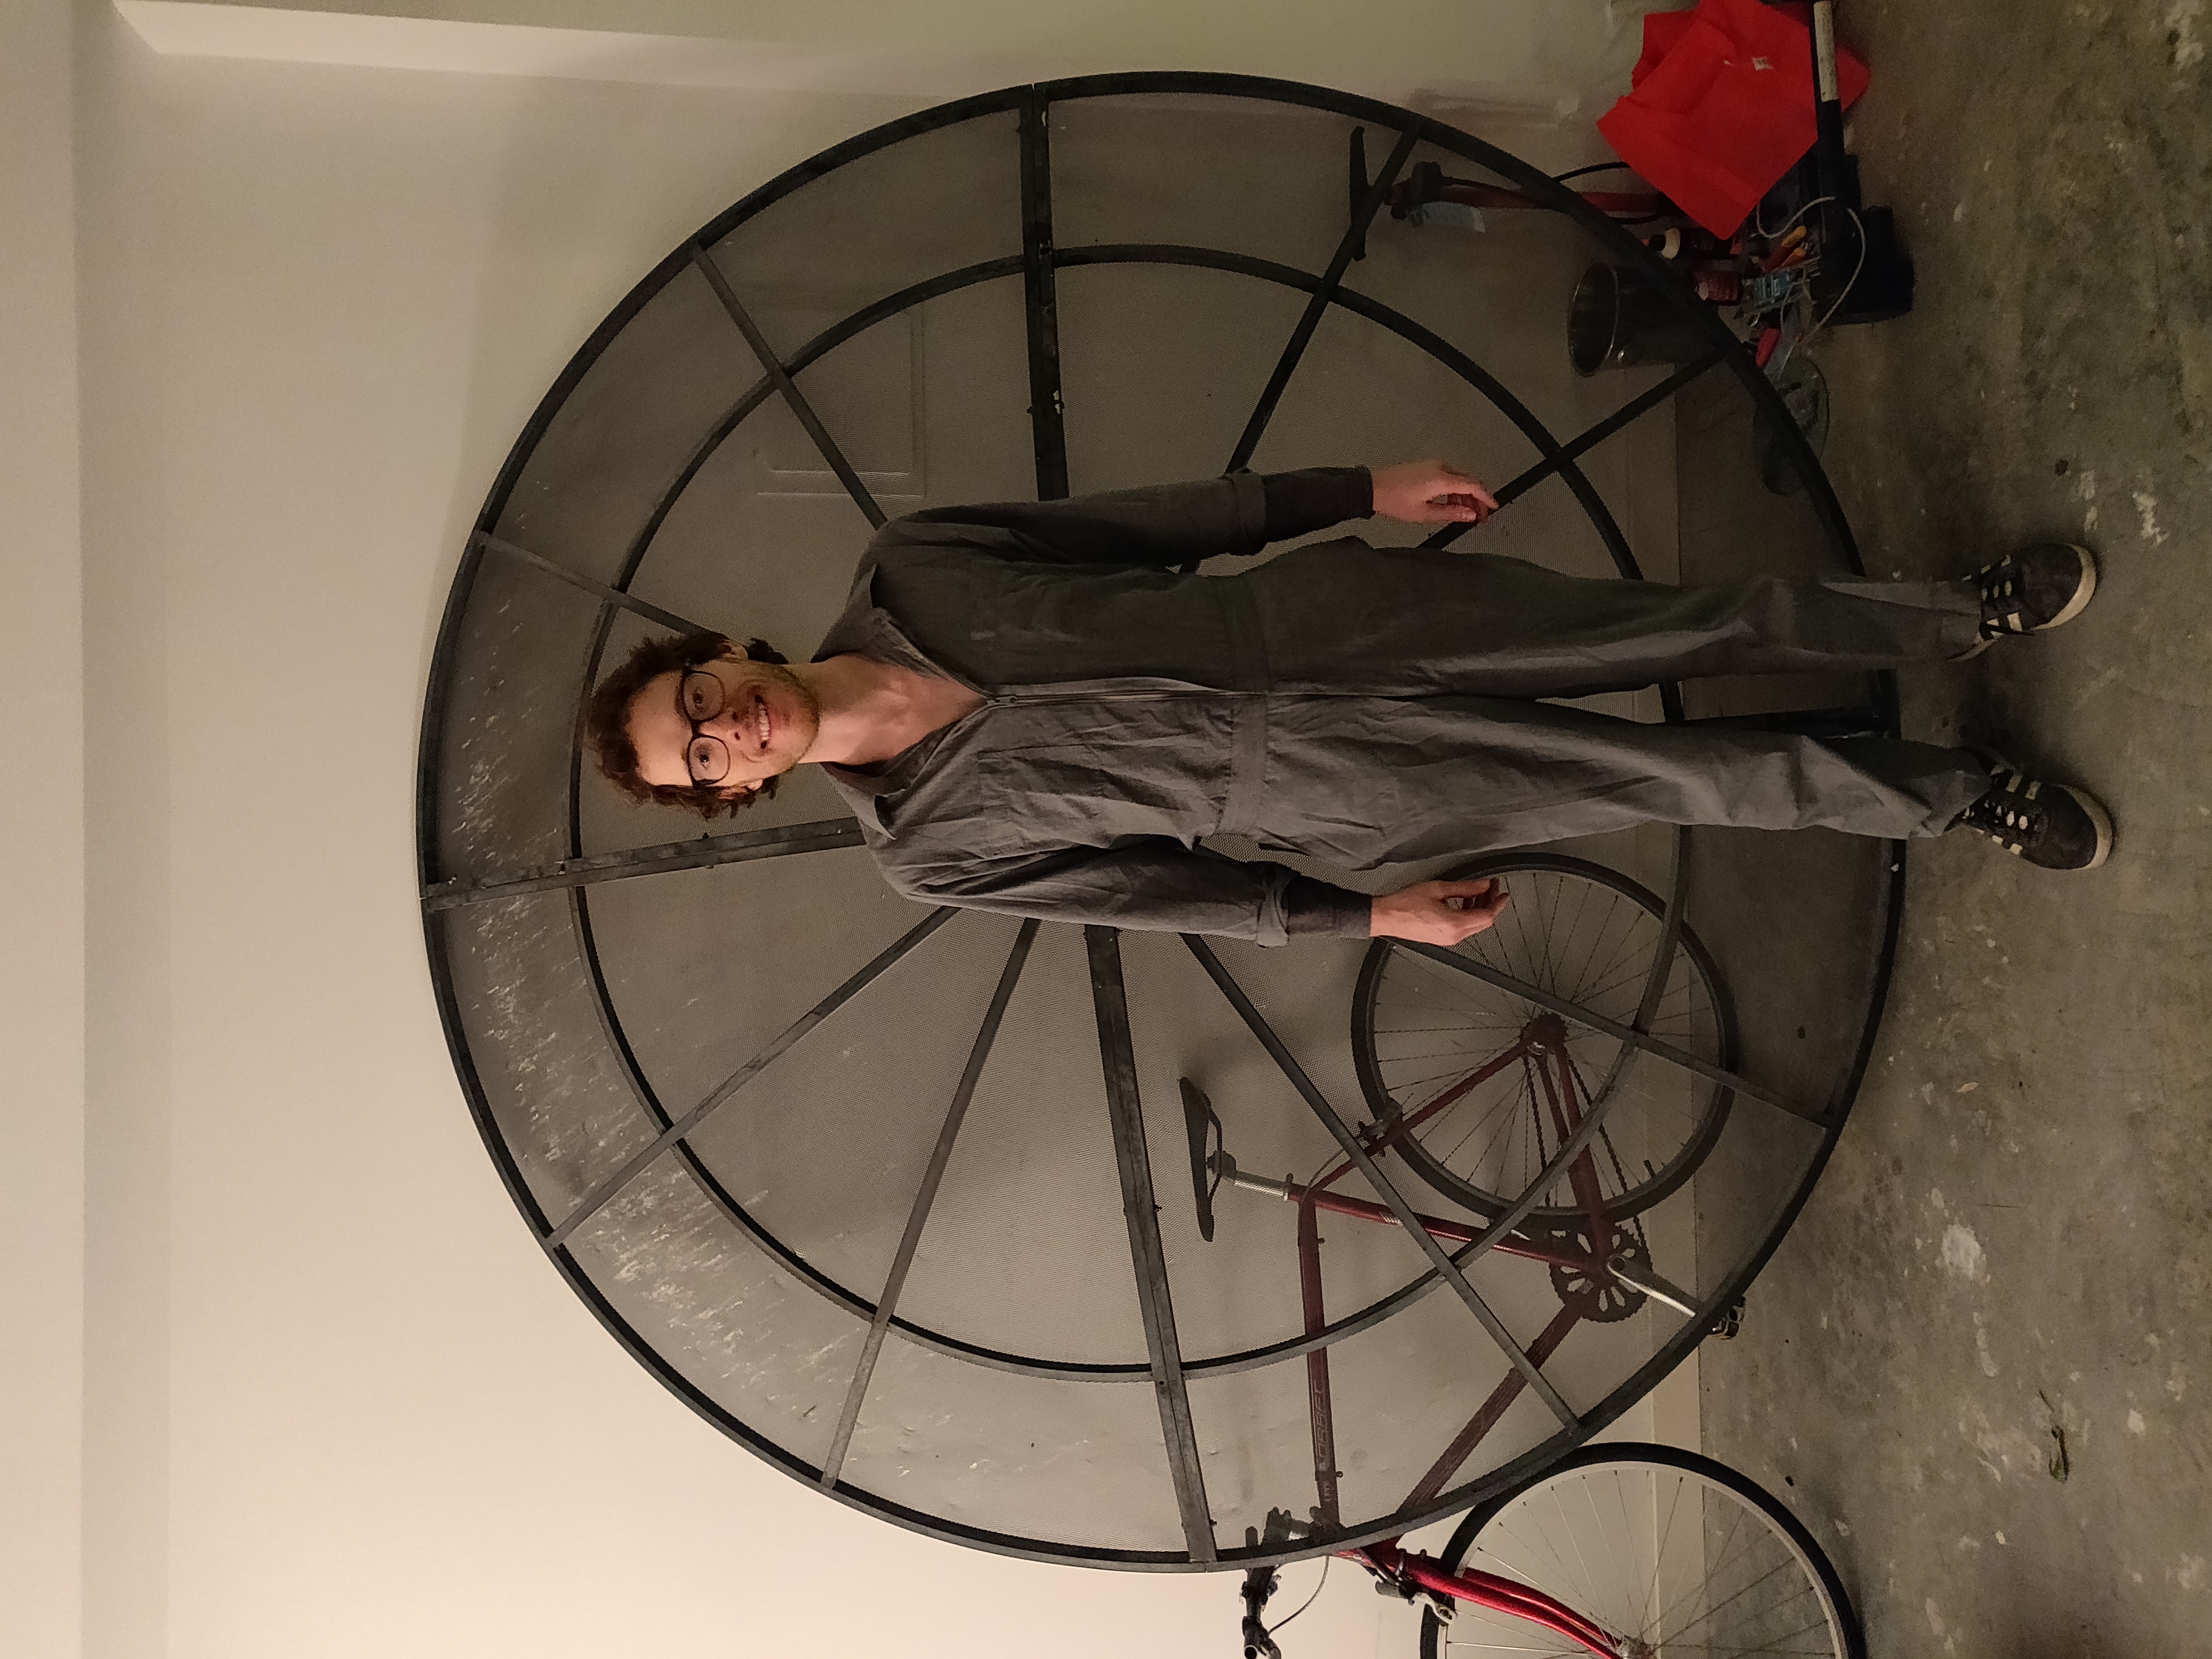
Here I am standing next to the dish, so you can get a sense of how large it is:
15/07/2019
After a two month hiatus, I’m back working on the telescope. I found a cool maker space up in Brunswick where I think I’ll be able to manufacture the parts I need to make a steerable base.
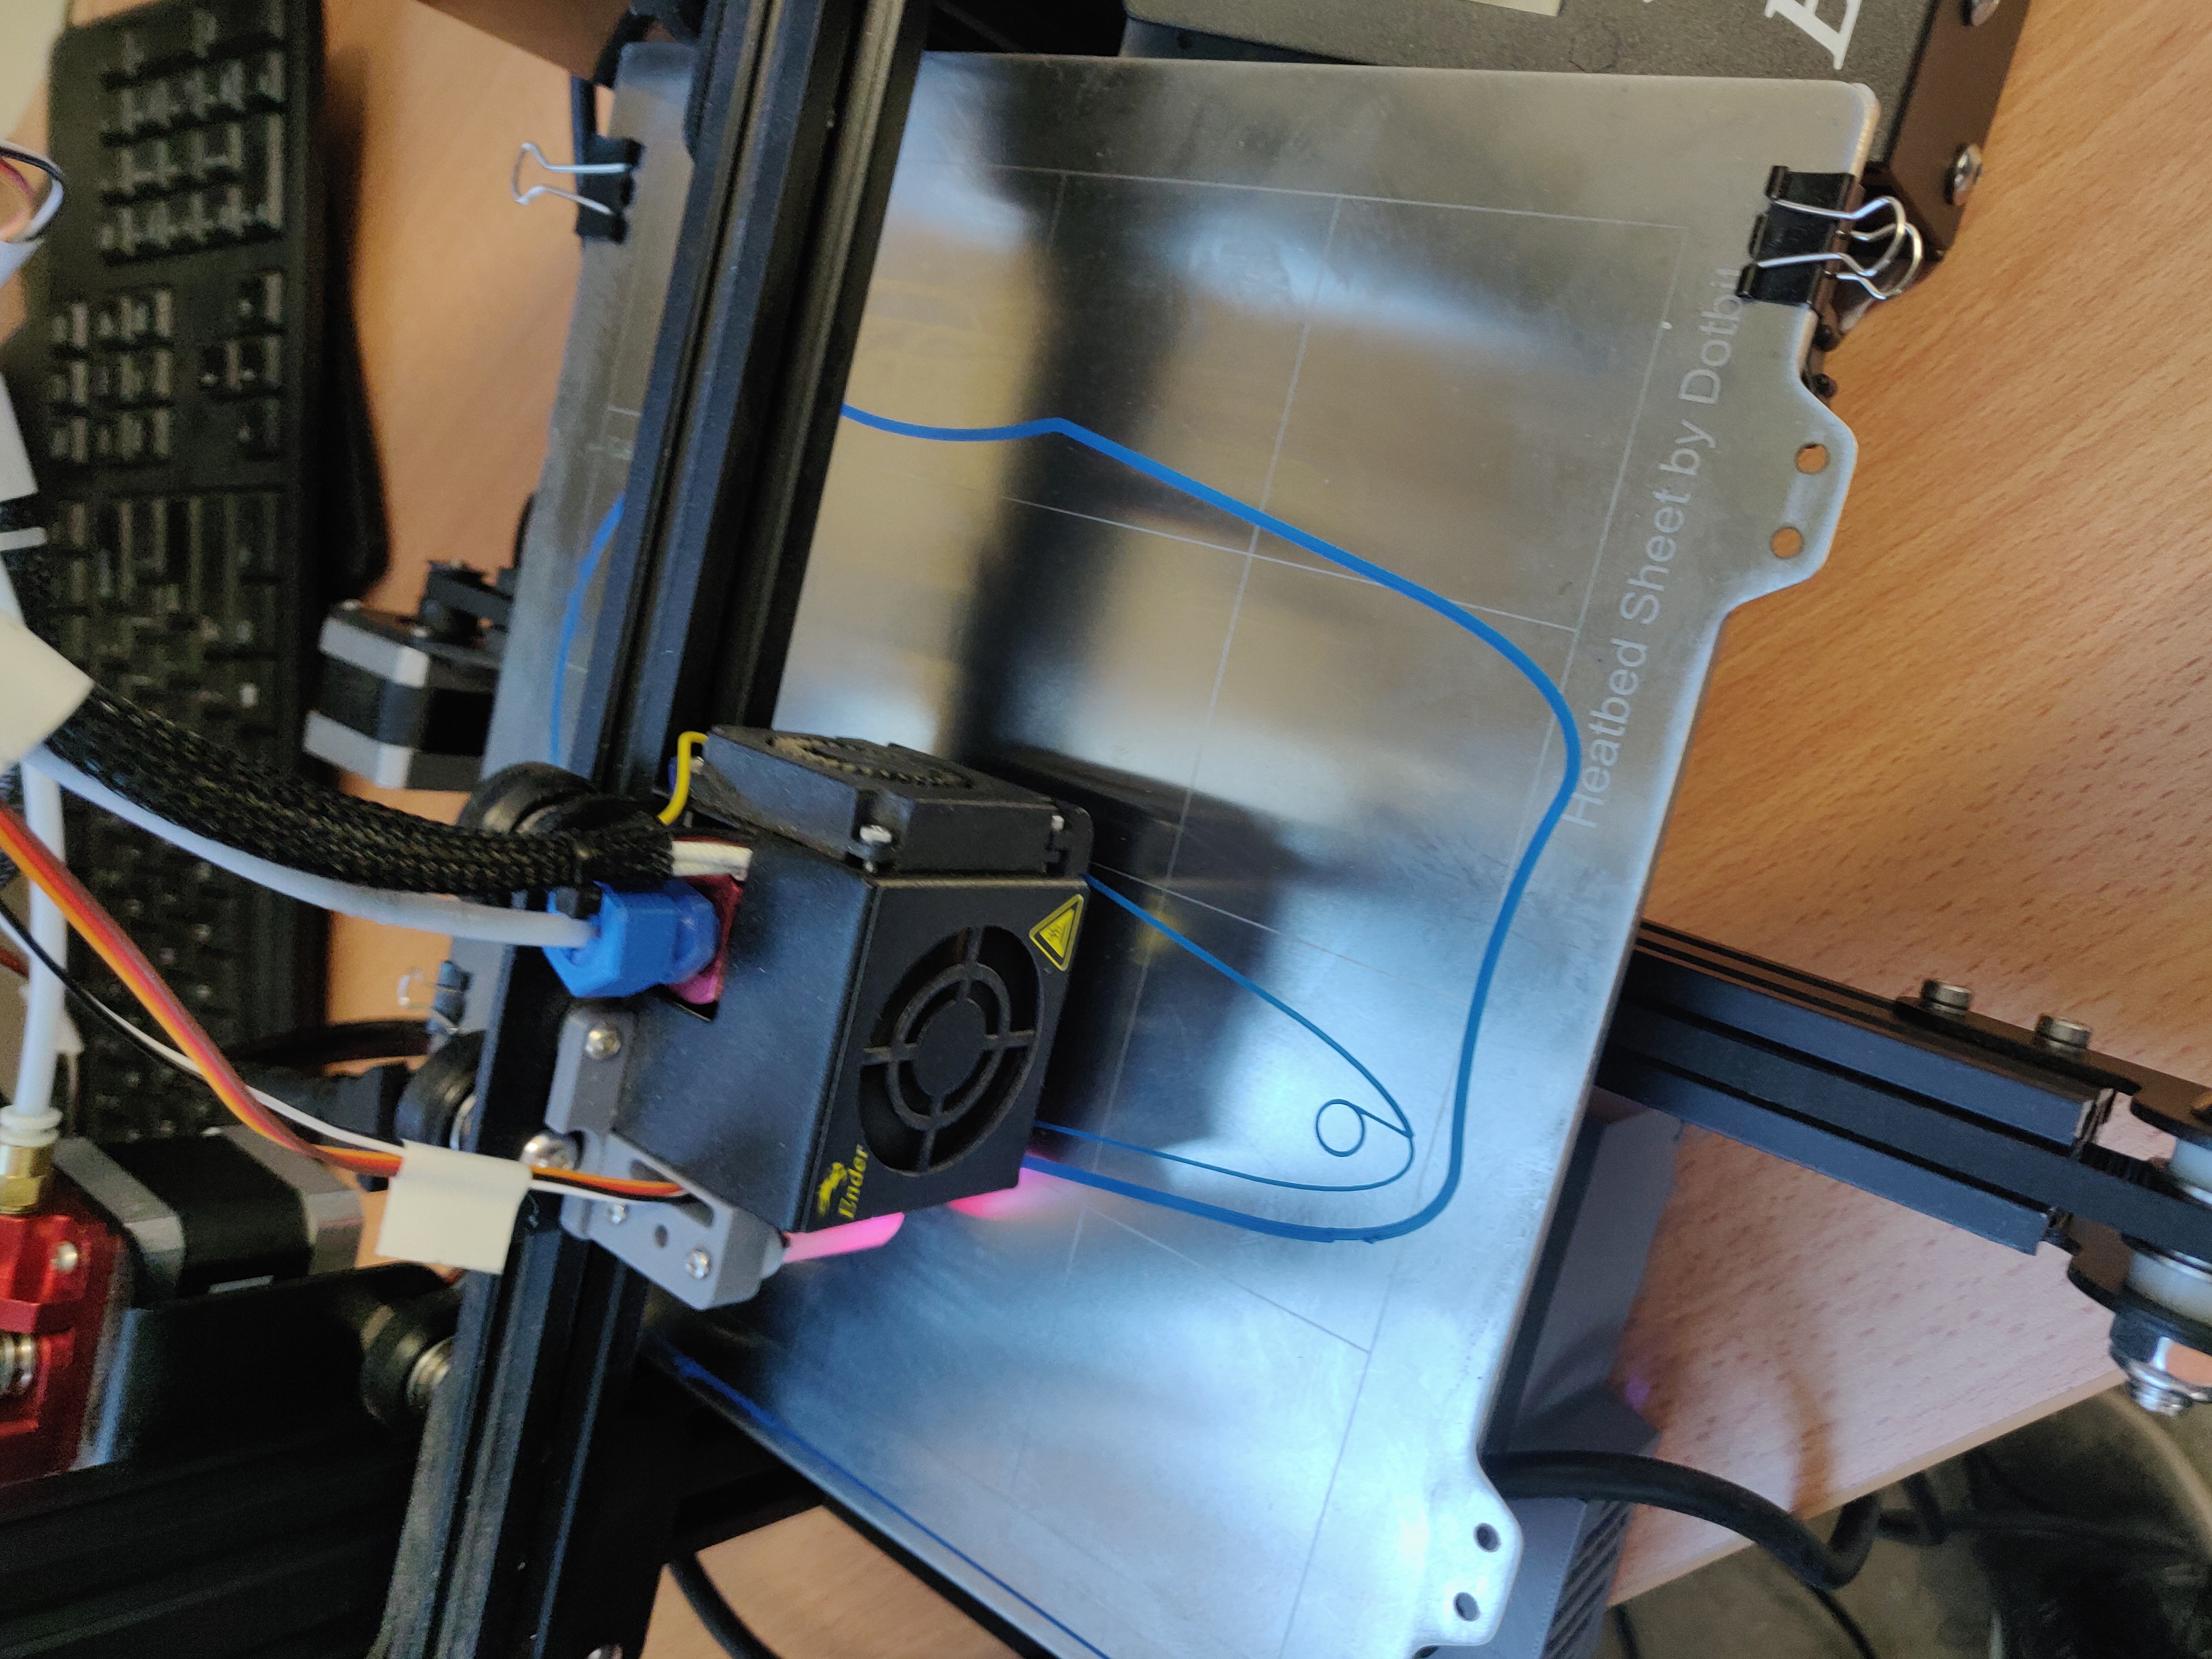
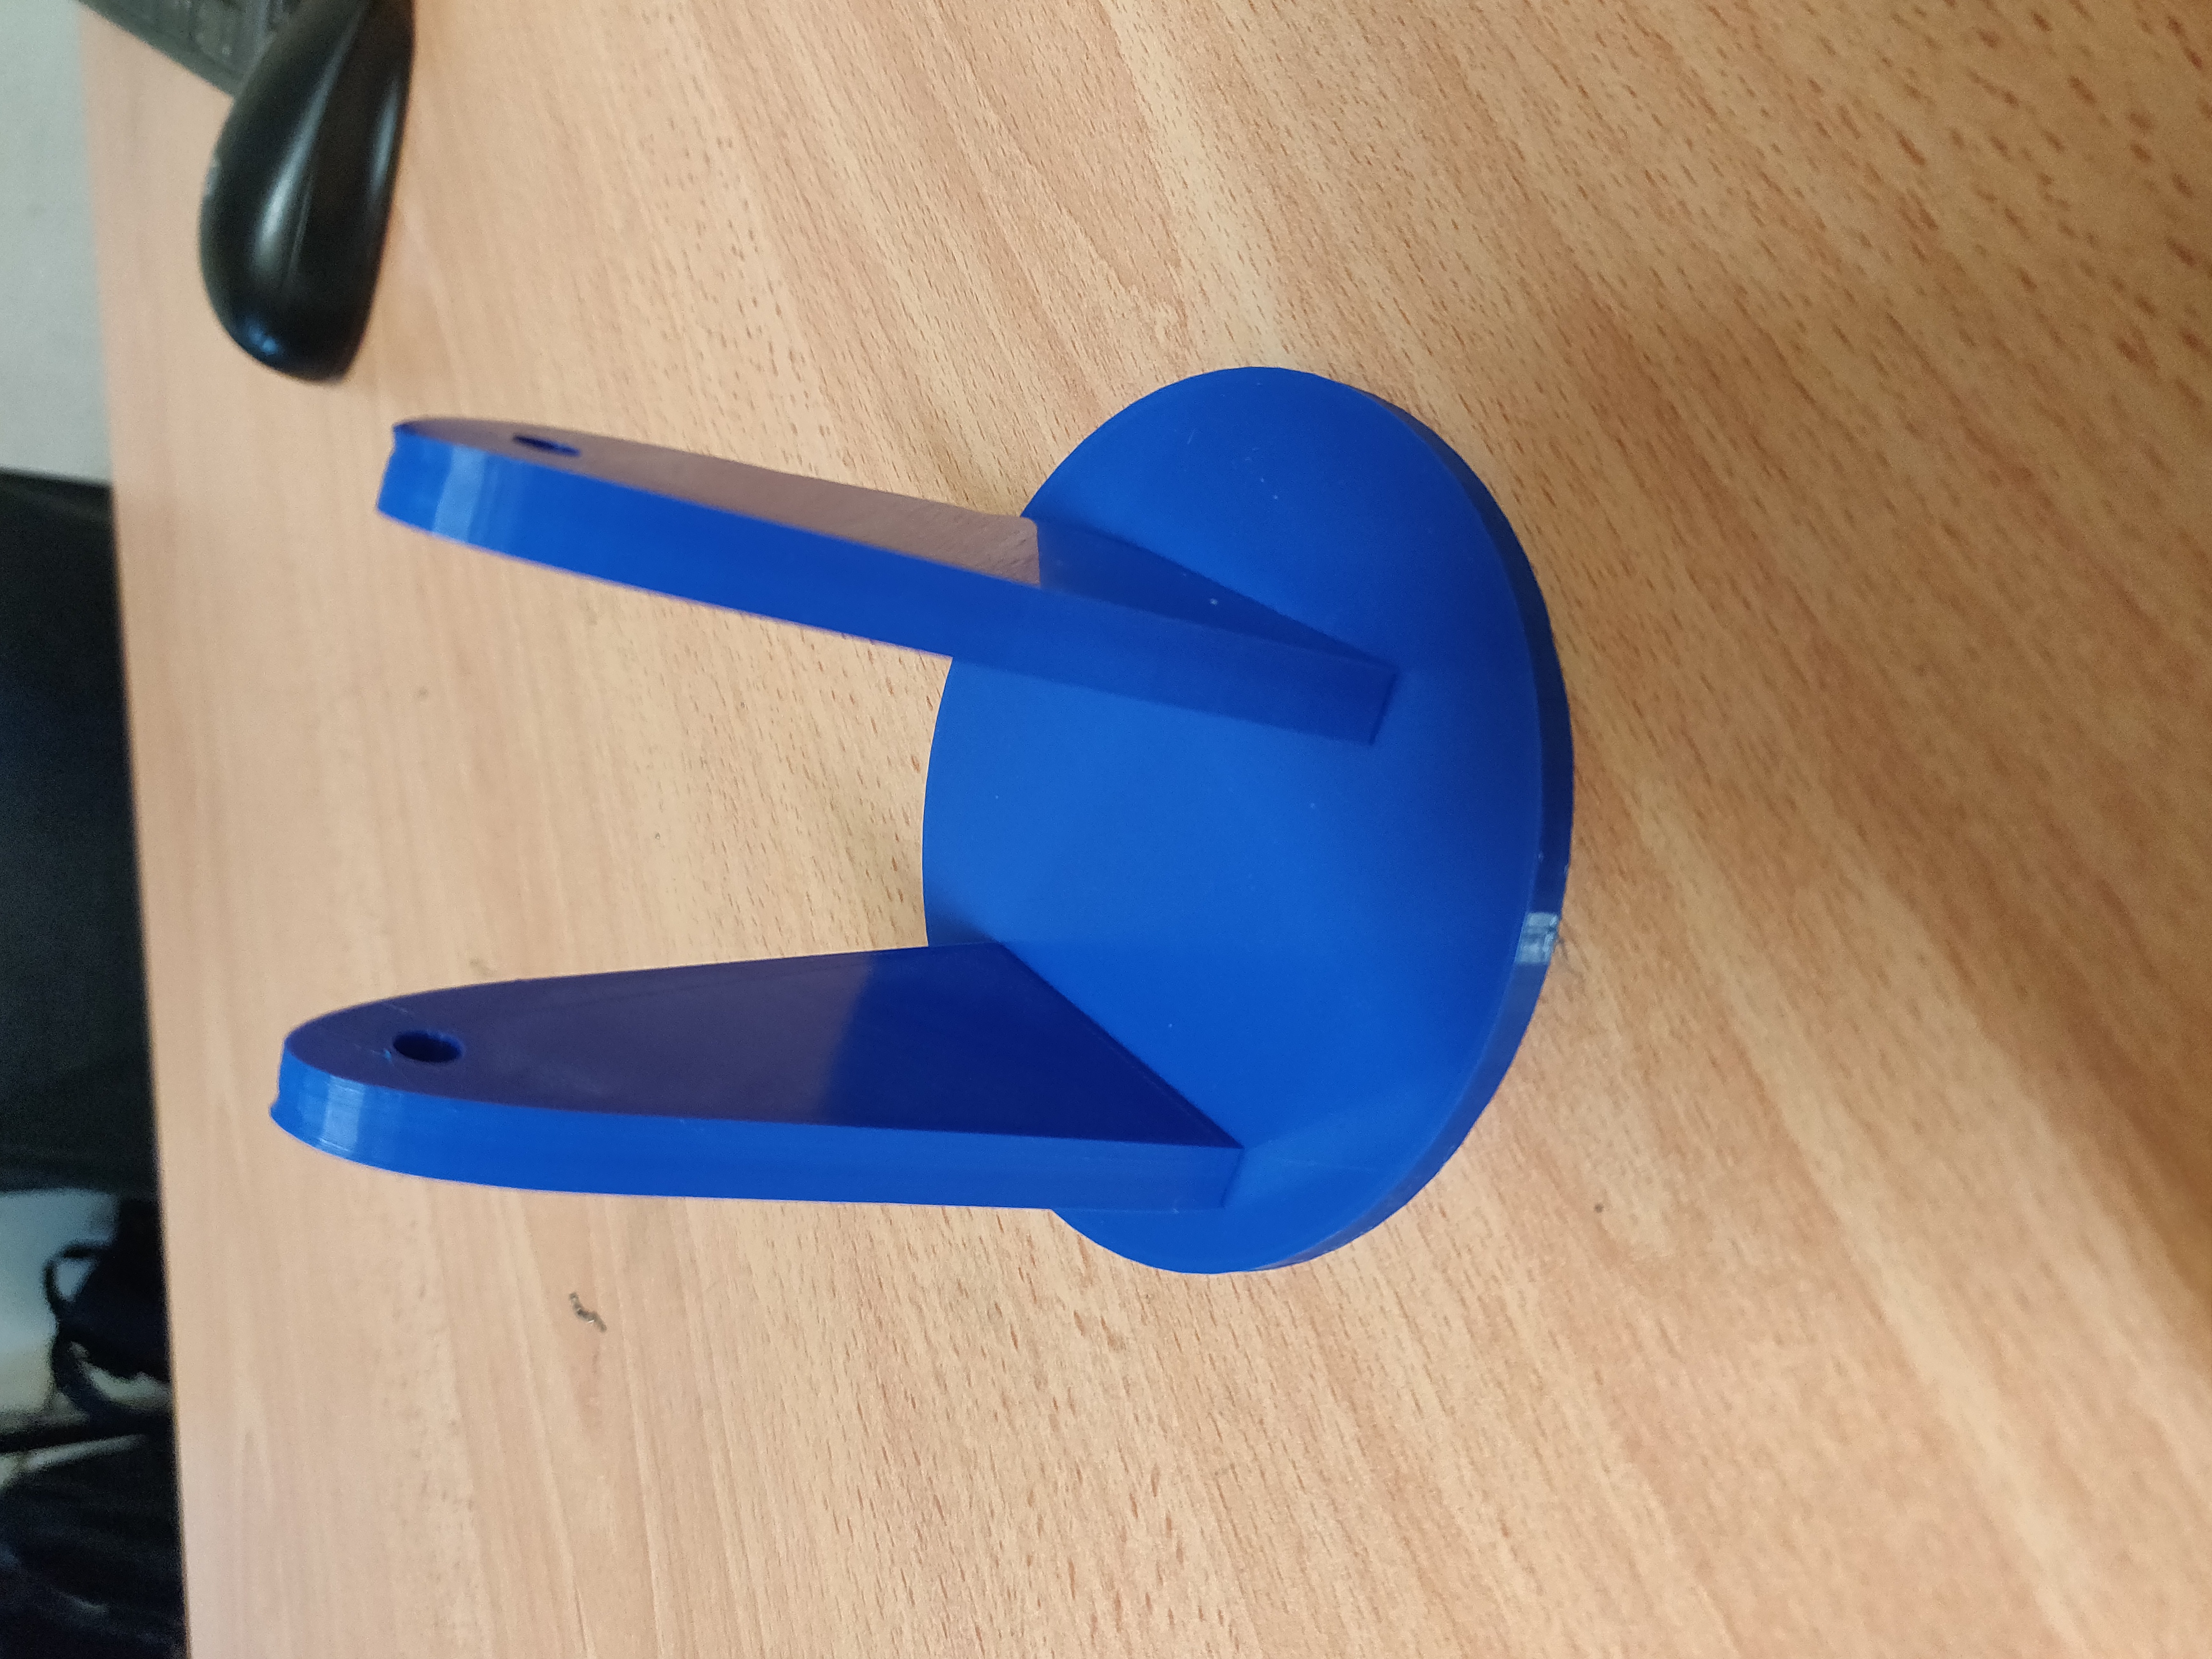
Some of the folks here at Maker Community suggested that I start by making a small prototype of the base before making the full size version. With lots of help, I was able to print out the basic structure of the base. I used this online 3D modelling tool called Tinkercad to make the the shapes for the base.
Here’s the parts printing:
Here’s the finished parts, set up similar to the configuration I imagine:
Moving forward, I’m hoping to demo some stepper motors in addition to gluing my prototype base together.